Showing posts with label DIY. Show all posts

DIY Dollhouse

A few weeks ago I blogged about an Allred Family tradition where cousins draw names and exchange gifts with each other.  Since we now have Landon, we are responsible for one gift in this exchange, and this year we had our cute 6 year old niece.  Since Landon doesn't have much of a say this year, I took matters into my own hands...The budget is $10-$15, and I am excited to share what we did!  We didn't go over budget at all, and I hope she liked her present, we sure had fun working on it. 

We started with these two old desk drawers, wood scraps, and some old dollhouse furniture:


and turned it into a dollhouse:
The window frames in the front are small picture frames with popsicle sticks glued inside!

That little grand piano was my favorite!  And I am such a nice aunt, that I upgrader her refrigerator to stainless steel :)

Brett did a lot of the work!  I am so grateful that I have such a handy husband who happily (with a little coaxing), goes along with my "visionary" ideas.  It made me want to be a little girl again, so I could sit and play with a dollhouse and it be considered an "age-appropriate" activity. 

This was good practice, because when we have a little girl (that's not an announcement!), you can bet that Brett will be helping me out with another one of these!

Happenings...

Just a little catch up on what we've been up to!
This is a little past due, but the end of October we celebrated Brett's 26th birthday.  Oh how I love that man!  He is a wonderful husband and the best dad!  Landon and I met him for lunch at his favorite pizza place, Grimaldi's.  That evening we left Landon with his Grandma and Grandpa Brown to go grab a bite to eat at Joe's BBQ and a free dessert at Liberty Marketplace.  The Sunday before, we celebrated with my family, and he requested a Texas Sheet Cake, his usual treat of choice. 


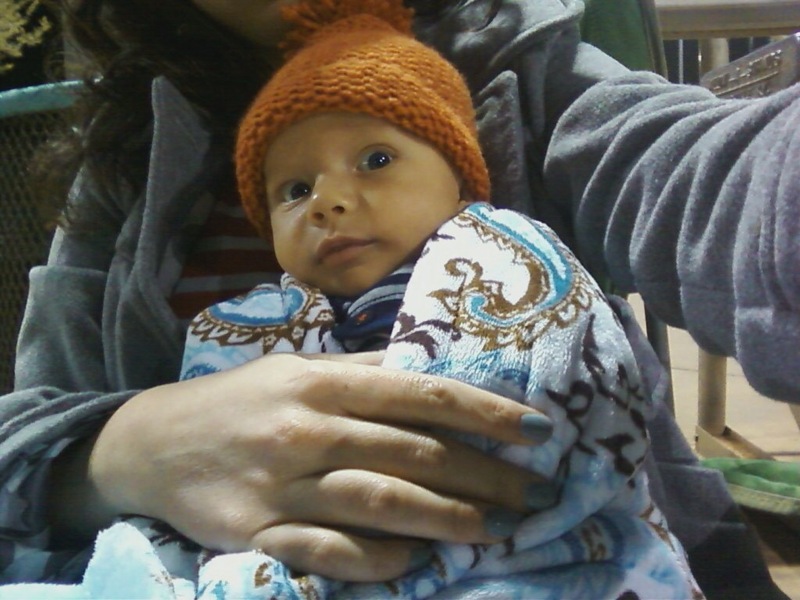
I have also been knitting quite a bit, trying to bulk up my etsy shop inventory, which can be challenging with a baby!  And I promised myself when I opened the shop, that I would still do some crafting and creating for fun, or else it wouldn't be worth it.  So, I knitted Landon a little hat to wear.

Here he is sporting it at dad's softball games!

Thanksgiving week was jam-packed with lots of family time.  Brett and I were hardly even home the last half of the week!  I will have to do a separate post on that.  But it was indeed a great time (with lots of good food, too!).  Saturday night, the adults went out to dinner and bowling.  Bowling was older siblings vs. younger siblings, and it was a blast!  We each won a game! 


Melanie gave her team a pep talk the second game, and it turned out that it helped--they won!


At the tail end of that weekend, we were able to bless our sweet boy. 
It was a beautiful and simple blessing,
and he slept through the whole thing! 

A yearly tradition on the Allred side of the family is for the cousins to draw names for a gift exchange.  This year, Landon has his cute little 6 year old cousin Morgan.  We (mostly me, but Brett agreed to help!) have an idea up our sleeve for her gift, and we have to stay in the $10-$15 range.  Here are a couple things we are using to pull it off.  It is in the works now, and I think it will turn out pretty awesome!  Stay tuned!

Feliz Halloween!

We have had a busy week so far...between Halloween festivities and Brett's birthday. 
One of those festivities was attending the Whiting's annual Halloween party!
(for last year's party and costumes, go here)

With a pretty brand new baby in tow, we had to get a little more creative. 

We went as a Fiesta! 

Landon was the star, he was our adorable pinata.
(found the idea on pinterest)

We won the "funniest costume" award (Brett is holding it in the picture above). 

I just used onesie pajamas that I thrifted from D.I. for $1, and then spent a few dollars on felt.
The only other purchase made was for the mustaches.  We borrowed a few things from my parents and had everything else already!  Talk about inexpensive costumes!

We wish he was better at taking the binkie, so he could've sported his 'stache more often!  Thank you Tara, for the mustache tutorial!


Unfortunately, I wasn't able to get pictures of the decor, like I did last year, so I pulled a few off of Aubrey's Facebook.  Aubrey just recently graduated from ASU in event planning, and works at Stonebridge manor.  So you can imagine how fabulous the party looked!  It was "carnival" themed.


Loved their costume...housewife and the milkman!
Food included: build-your-own nachos, soft pretzels, and hot dogs, veggies and dip, apple and toffee dip, IBC rootbeer, spiced cider, hot chocolate, and donuts. 

The centerpieces on each table were balloons tied to a big bucket of peanuts to munch on, and an orange paper table runner to doodle on.

There was cornhole, and a kid's table and games for them as well. 

So glad we were able to go to this fabulous party, it kicked off Halloween week well!

Baby Boy's Nursery

The babe is due to arrive at any moment!  

Just thought I'd share a few pictures of his nursery, it's nearly completed.  

Remember this furniture we got for a total of $20 off of Craigslist?


Ya, it was in pretty sad shape.  

Can you spot where some of the furniture is now?  We ended up using the three pieces on the left in the nursery.


After brainstorming, price-checking, and lots of work (mostly by Brett), we have some awesome nursery furniture!   Here's a brief run-down on the furniture and some of the accessories...sorry if it's a little lengthy.  I just always wonder where other people find good deals, so I thought I'd share where I found some of mine!


The dresser/changing table "after"!  Much better, wouldn't ya say?  
Brett added the beadboard paintable wallpaper to the front of the drawers, we added some new hardware (50% off at Hobby Lobby!), and he added the galley moulding to the top perimeter.  He is one talented guy!


The nightstand "after"!  Again, Brett added the beadboard to the front of the drawer and to the sides of the nightstand, and we added a new knob from Hobby Lobby.


And the bookshelf "after".  The decor in this area is still a work in progress.  However, I do need to leave a little room for some more books and a few toys that I am sure we will accumulate over the next little while.  

  
This is the shelf Brett built for me out of the old desk that was falling apart.  Love his handy-man skills!


And the hooks to hang a few of his adorable things!  I scored the tiny Ralph Lauren Polo Jacket at D.I. for $3, and his boots at D.I. for $2.  The cute hat was sent from Grandpa and Grandma Allred down in Chile, we can't wait for Christmas lights to bundle him up in his gear!  The fish shadow box was a steal from Hobby Lobby on clearance (I think around $8, but I can't remember for sure).

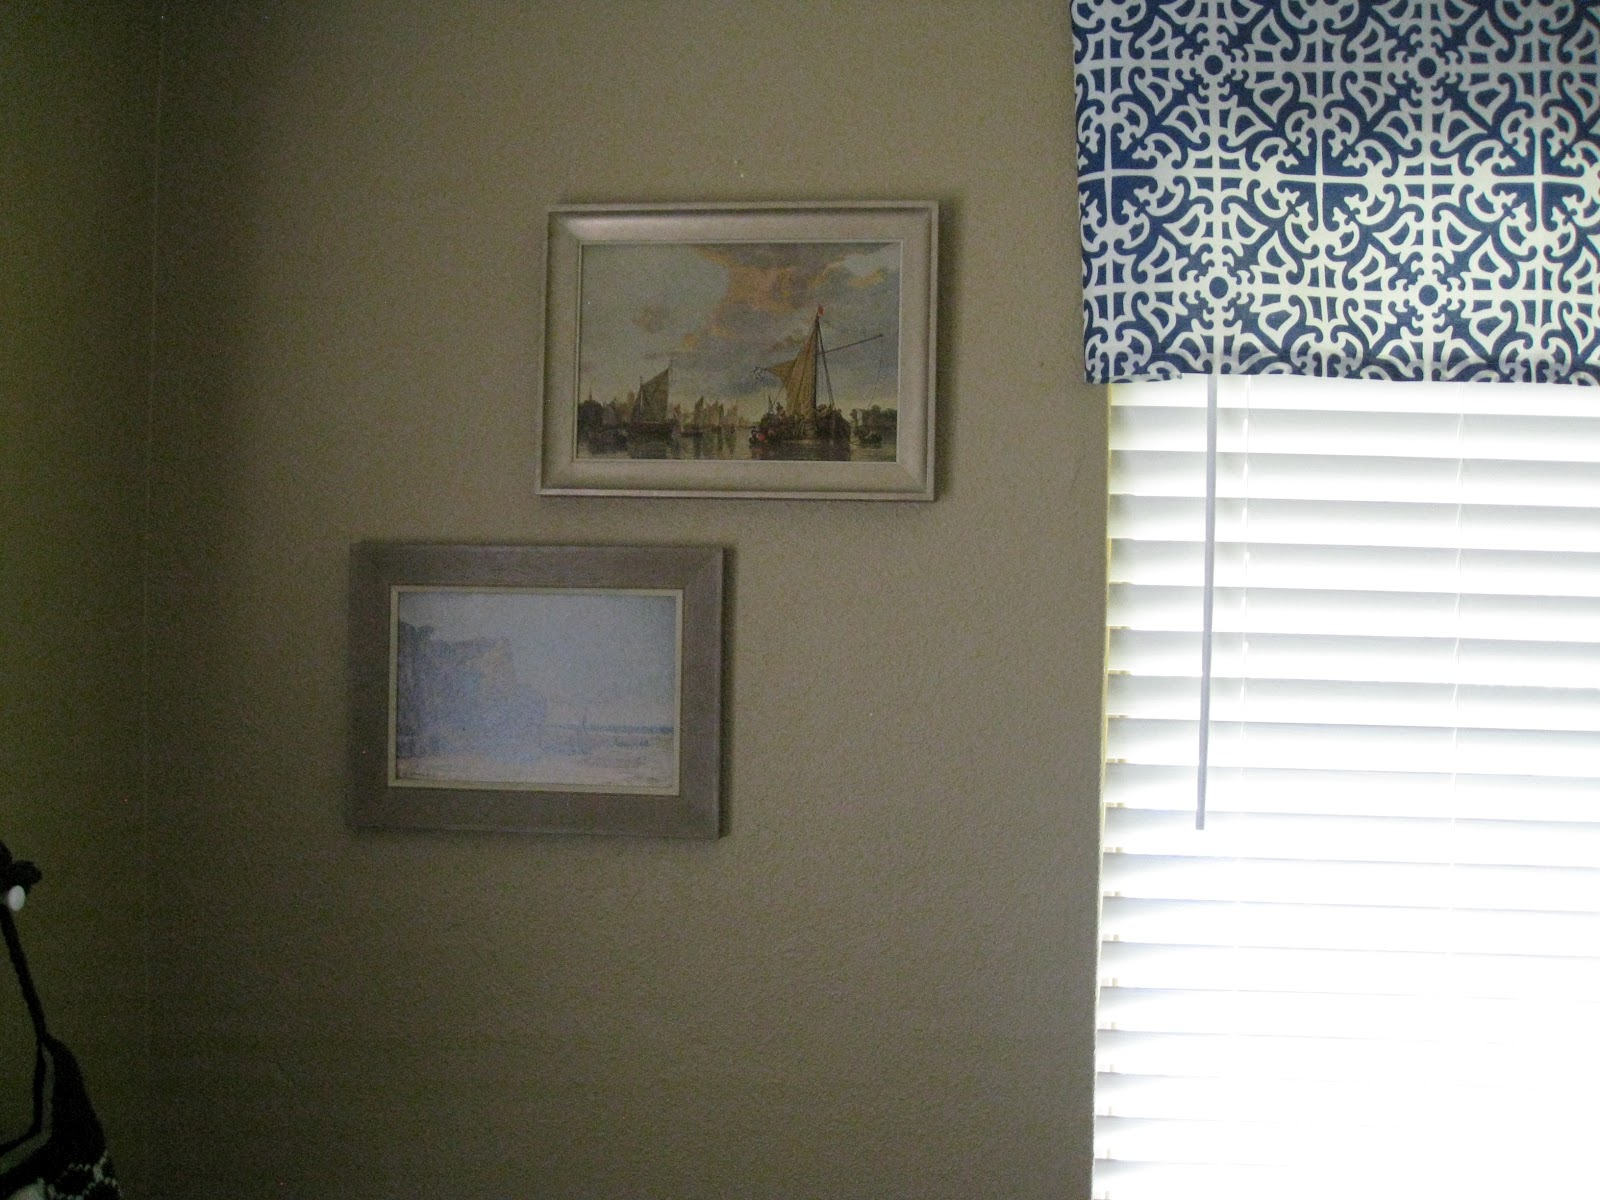
Some of the sailboat artwork, scored it at The Habitat for Humanity Re-Store at $3 each.  And of course, the curtains!


This dresser we got at the Habitat for Humanity Re-Store for $12.  All we did was sand it down and repaint it, that is the original hardware.  The lamp we already had, as well as the frame.  I just added some rope for a nautical feel, to hang pictures on it.  

As you can see, there are a few loose ends to be tied up, but overall, this nursery is move-in ready for our baby!  We've since added a changing pad to the top of the changing table dresser, and a crib mattress to the crib.  The crib was our biggest "splurge" for $60.  The chair and rug were a close second, being $40 each (rug from Marshall's and chair off of Craigslist).  Other than that, the accessories and other pieces were almost all under $5.  This room has really been a fun thing to work on.  


Baby...we are waiting for you!

Window Treatments for $10 {Tutorial}

Up to this point I haven't done any window treatments in my house.  I figured we'd move out and wouldn't be able to use them, plus window treatments can be pricey!

However, for the nursery, I thought I might be able to scrounge up some window treatments on a budget.  And I did!  I only spent $10 total, including fabric.

I did two windows, this size and one double this width (I only pictured this one because the lighting coming through the other window was too hard to photograph during that time of day). Sorry the photo isn't cuter, but I don't want to picture any of the other parts of the nursery yet, it isn't ready for it's reveal!


These curtains only took me a couple hours from start to finish, including purchasing supplies.  I found the fabric at SAS in Tempe, where they sell remnants of fabric at discounted rates.  I spent less than $5 on the fabric, which was a steal!  It ended up being a great color, and is a popular print that will match the nursery "nautical" theme very well!


Then I headed to Home Depot and got an 8 foot board and had them cut it to size for me.  Between both my windows, I was just under 8 feet for the total width.  I also added on an extra 2 inches to each window, allowing myself an extra inch on each side when they were hung.  Home Depot folks are super helpful (it also helps that I stick out like a sore thumb there...especially with my pregnant belly!), they'll cut anything for you that's bigger than 12 inches.  Take advangtage!  The board cost a total $2.34.


After purchasing these things, I cut my fabric to size, and hemmed under the bottom. 


Then, I stapled the fabric around the board once, going halfway down the board and pulling tight. 


I flipped and did this two more times, to get the exact desired length (I would hold it up to the window to see if I thought it needed to be shortened a few inches, which I did). 


To do the ends, I folded the side similar to a present.  It's easier just to look at the pictures:


Now they are ready to be hung! 
Brett and I went to Home Depot again, and he found some metal framework pieces called rigid tie brackets, that are often used for building things by keeping joints together.  But he thought they would work great, and they were just 75 cents each!  We needed 4. 


He drilled them to the wall.  And at first we thought we would place the curtain in it like a hook, and then nail it, but once we placed it, it felt plenty secure, that we never nailed it down.  But you could if you wanted to. 

And there you go!  Window treatments on a budget!  They really add color and texture to the room.


The Nursery Furniture: A $20 Deal

Well, Brett and I have been working on getting a vision for this nursery.  We live in an adorable small house that is probably around 70 years old, but it's only two bedrooms and they are both teeny tiny.  It's caused a dilemma seeing how we have no place for my "craft crap" and a desk for the lap top, printer, etc. if we use the extra bedroom for a nursery. 

Well, we've been doing some organizing and rearranging and it's looking like we might manage to have a nursery afterall, yipee!  So we've been scouring Craigslist (my mom sends me ideas from Craigslist daily, it's awesome!) and thrift stores to find the perfect nursery furniture and decor...on a shoe string budget. 

It's starting to come together and making me really excited for all the pieces to be finished.  Thank goodness for my handy-man husband who is innovative and loaded with good ideas.  Just on Friday, he texted me that he had an idea for the dresser and that he'd tell me about it when he got home.  Little did I know that he had already perused the Lowe's near his work during his lunch break, for a price point check and to make sure they had it in stock!  Isn't that awesome?!  And since I'm wary of painting while pregnant, I've been helping to sand down the furniture and he's been doing most of the work. 

So just to give you a sneak peek... here is a lot of the furniture we've been working on, and I got all of this off of Craigslist for a whopping $20 total!  And if you are frightened by how awful the furniture looks in this photo, just know that they looked a million times worse up-close and in-person (yes, that was a pencil sharpener attached to the top of the small bookshelf)!  But it was a risk worth taking!  Most of the furniture pictured is made of solid wood, which is even better!  It gives me a thrill just thinking about the deal and how well it is all coming together. 


It might be a few more weeks until all of the final touches are added, but just think along the lines of some beadboard, galley molding, and some loving care--are turning these into our very own "custom" nursery furniture!

Plus, I'll have some "before" and "after" photos of another $12 dresser deal I got, to add to the mix!  And I've been finding bargains on all sorts of accessories--we are going for a "nautical" theme, using maps and sailboats for our inspiration!

Baby Boy Burp Cloths

For those of you that didn't know, I used to work at a ribbon store in college, called Ruffler's Roost, but it is also widely known as Ribbons and Lace, which is exactly what they sell! 

I love making baby girls adorable hair bows and other accessories with ribbons, and sadly you just don't have as many options when it comes to boys and ribbons.  But there are options! 

I whipped up a few burp cloths and binkie clips for our little guy, and I have to admit they are equally adorable and "boyish"!


I love finding the little buttons to go on the clip of the binkie clips, especially the tractor one that says "Save a Horse, Ride a Tractor".  Too cute!  If you don't know how the binkie clips work, there is a clip on one end and a velcro loop on the other that you can secure a binkie through.  Clip it to the baby's shirt, and if it gets spit out, it's never far or on the ground. 

The burp cloths are just cloth diapers that have the strips of ribbon sewn on the bottom.  It is a bit tricky to get the ribbon perfectly straight, even with pinning.  I am getting better but I can't lie, it bugs me when I notice they aren't perfect.  But I guess no one will look as closely at them as I will!  And they are "handmade" so perfection is usually impossible!

And of course, I also have to share a girlie one I whipped up for a friend...
That's a binkie clip, burp cloth, and bow all tied together.

Now aren't those fun?  That is one thing you can do with ribbon for a baby boy!